Hour 1
In Hour 1, hear the answer to these questions: ‘Can I tile over tile?’ ‘Can you install vinyl plank flooring over asphalt?’ and more.
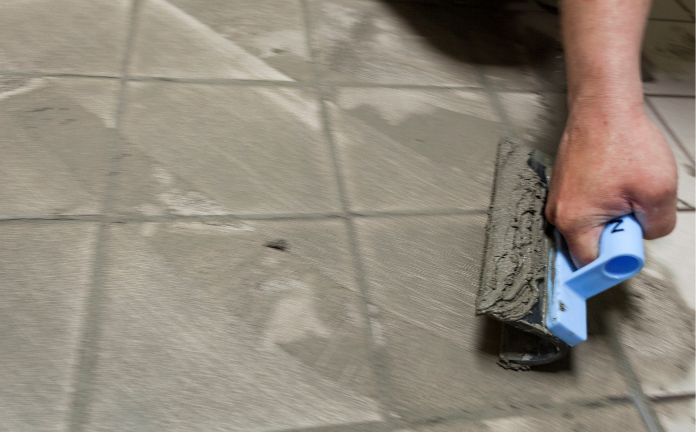
Tiling over Tile
Jim in Florida has a shower pan that is structurally sound, but the tile could be more appealing.
“Can I retile over the existing tile by sanding, cleaning, and putting down a self-adhesive waterproof membrane without applying thinset? Where can I find a waterproof membrane that has adhesive on both sides?” he asks.
Most professionals steer you away from laying tile over tile. In most cases, there’s a problem with the tile and you don’t want to tile over it. In this case, the tile is sound, so it can be tiled over.
If you want to tile over tile, the existing tile needs to be clean, level, and free of cracks and crumbling grout.
I’ve seen this done many times, but you always have to use thinset. Of course, it’s important to use whatever is specifically recommended by the tile manufacturer.
One method is to sand the tiles with 100-grit sandpaper, then lay down a floor patch compound to create a new surface. Put down about an eighth of an inch, or enough to fill the grout lines.
Then, apply two coats of a waterproof coating called Redgard.
Then, it’s ready to be tiled. We suggest using tile that’s slightly larger than the original tile so you can bridge as many of the old grout joints as you can.
In some ways, this is about the best shower pan you’re gonna get because you’ve got not only the original waterproofing and tile, you have another layer and a layer of tile.
Just make sure you use the right grout, a sealed grout that’s integrated into the grout, or seal the grout after you apply it.
Watch: How to Install Ceramic Tile on a Tile Floor
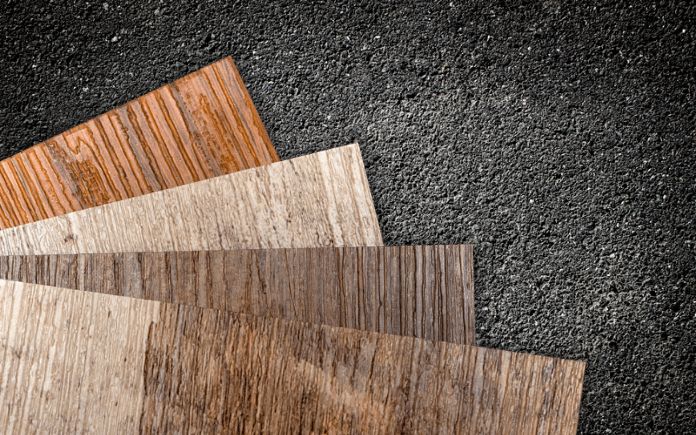
Covering an Asphalt Carport Floor
Peter Kolisnyk in British Columbia has a carport with an asphalt floor and a deck above it.
But the couple want to upgrade the look of that floor.
“My wife wants to cover it with something (nice). We want to enclose the carport and use it as a patio. Would I be able to glue a vinyl plank floor to the asphalt?” he asks.
One thing about asphalt that I’ve found over the years is it’s so different in different areas of the country. Some types are a lot more porous and coarse than others. It’s also affected thermally, a lot more than concrete — when it’s warm, it gets soft and when it’s cold, it tightens up.
For these reasons, I would say it’s not suitable for vinyl plank flooring. Check to see what the manufacturer recommends. This is probably going to be different from one manufacturer to another.
Another thing with asphalt as opposed to concrete is it’s not perfectly flat. Sometimes it has a bit of undulation in it and moisture can get through it more easily. One of the most important parts of vinyl plank flooring installation is the moisture barrier.
Without the proper moisture barrier, the flooring can become discolored or warped and come apart. The barrier could be polyethylene film or asphalt-coated paper. If there is a moisture barrier on the underside of the planks, you might still have to put something else down.
We don’t recommend gluing down vinyl plank flooring. Instead, do a floating system, where the planks snap together and they’re not actually fastened down in any manner.
Another option is to lay pavers over the asphalt. There are some available that are only 2 inches thick, so they won’t take up a lot of room. Stain or seal them for a more finished look.
Hour 2
In Hour 2, hear how to fix chipped paint on cabinets, remove paint from outdoor plastic furniture, keep a door from swinging open, and more.
Fixing Chipped Paint on Cabinets

Here’s a familiar problem: a homeowner paints their pine cabinets, and now the paint is chipping off.
That scenario is playing out right now for a “Today’s Homeowner” fan.
“What can I do to fix that, and can I take all of the paint off?” she asks.
It’s a good bit of work to paint cabinets, and when the paint doesn’t perform the way you want it to, it can be a bit discouraging.
Apparently, the paint is just not adhering to the surface below it. This just goes back to the importance of proper prep work — making the surface conducive to paint sticking to it.
You don’t have to strip away all the paint.
In a situation like this, sand off the peeling paint with 120-grit sandpaper. Feather out the old paint so the surface is even. Then apply a bonding primer.
Paint the area wider than just the repair area so it blends in with the rest of the cabinet.
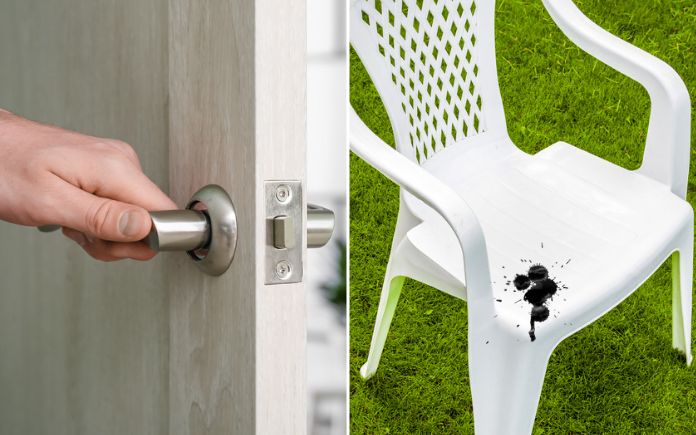
Removing Paint From Plastic Furniture
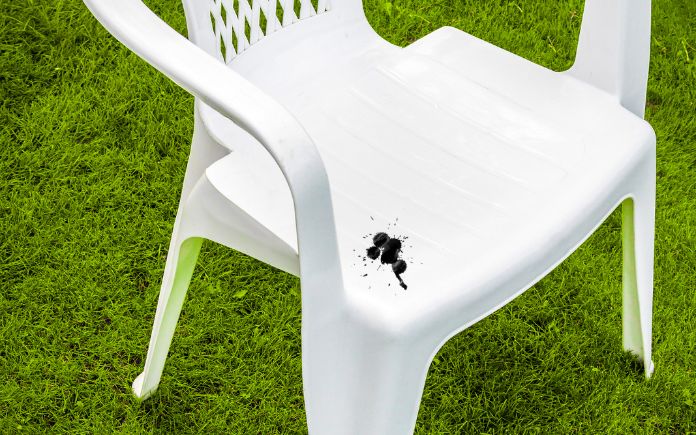
Paint splattered onto a caller’s outdoor plastic furniture.
He asks, “What can I use to remove the paint without damaging the furniture? I’m not sure if it is water or oil-based paint.”
Assume that it’s latex and go with something a bit passive like Goo Gone Pro Power Spray Gel or Goof Off Professional Strength Latex Paint and Adhesive Remover. I’ve used it before to remove latex paint from outdoor plastic furniture. It still left a little dull spot, but after a couple of months, it faded away and wasn’t as prominent.
You can also try this homemade approach:
- Take a white cotton cloth and soak it in vegetable cloth or rubbing alcohol (not both — one or the other)
- Buff or scrub the splatter. Try one spot for a few minutes. The vegetable oil or rubbing alcohol will release the paint a bit.
- Then take a plastic putty knife to scrape off the paint.
There’s also paint specially formulated for plastic furniture. If you get the paint splatter off and it’s still not quite what you want, you can change the color completely or match the color.
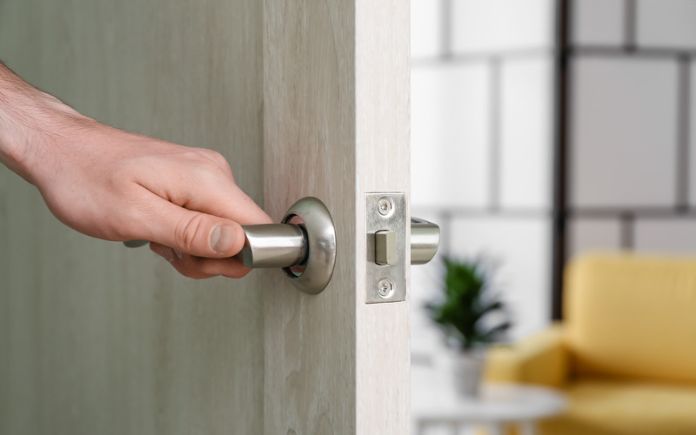
Fixing a Door That Won’t Stay Open
Some inconveniences are daily aggravations that can affect your quality of life.
“I have a bathroom door that I cannot leave halfway open, it always seems to swing all the way open by itself,” a homeowner says. “What can I do to correct this problem?”
A door that just doesn’t stay where you want is one of the most frustrating things that can happen around your home.
Here’s how to fix it:
- Take a hammer and a nail punch (or a fairly good-sized nail) and tap the hinge to remove the hinge pin.
- Hammer the hinge pin on a wood block to bend the hinge pin slightly.
- Tap the hinge pin back into the hinge.
Repeat this with the other hinge pin if this doesn’t keep the door in place.
This creates just the right amount of friction to allow you to put the door right where you want it (and it will stay!).
Watch: Repairing a Door That Won’t Stay Open
Best New Product
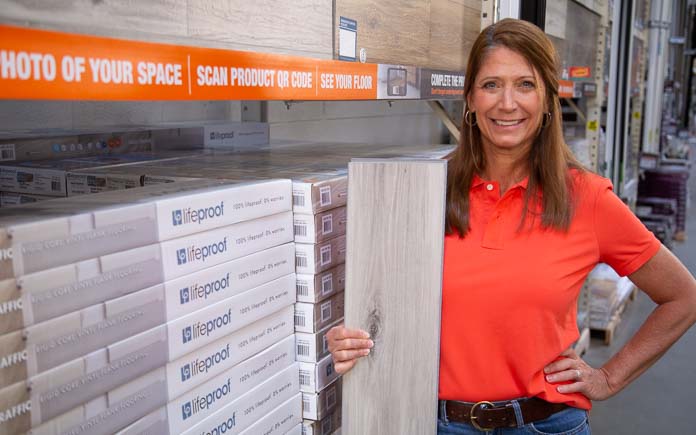 |
Lifeproof’s new Luxury High Traffic Vinyl Plank flooring is tough enough to take on life’s everyday messes. Learn more >> |
Simple Solutions
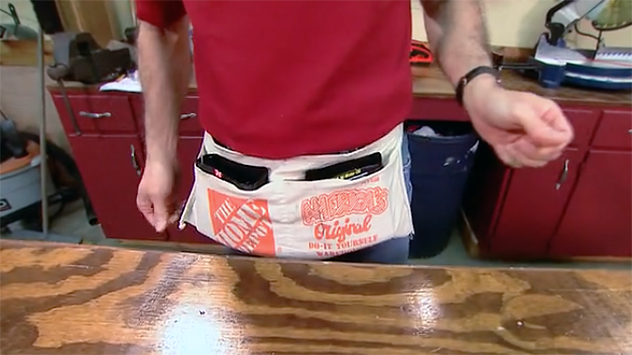
Nail Apron Liners — Make interchangeable liners for your nail apron or tool pouch out of one-quart plastic motor oil bottles. Cut off the spout, wipe the bottle clean, fill it with nails or screws, and slip it into the apron pouch. Fill up several bottles with various types and sizes of fasteners, so you can quickly and easily switch them in and out without having to dump out the apron.
Watch: How to Make Nail Apron Liners from Oil Cans
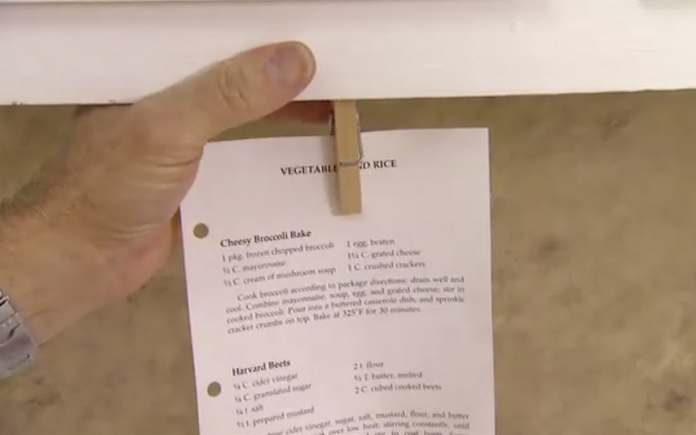
Recipe Reminder — Here’s how to keep recipes in sight, but off the countertop:
- Cut 1/2″ off one leg of a wooden clothespin.
- Drill a 3/16” hole through the long leg of the clothespin.
- Insert a short screw in the hole in the clothespin.
- Screw the clothespin to the inside of the frame on a hanging cabinet in your kitchen, so it can swing up out of site when not in use.
This is also a good way to leave messages for family members before you leave the house.
Watch: How to Make a Kitchen Cabinet Recipe Holder
Products and Links Mentioned
This page contains affiliate links. If you purchase a product from these links, we will earn a small commission at no additional cost to you.
Further Reading
Radio Show & Podcast: Send us your question!
If you have a comment, general question about home improvement, or something we’ve featured on Today’s Homeowner, please fill in this form: