We’re helping homeowners Corey and Grace transform their extra bedroom into a modern and relaxing guest room.
The Projects
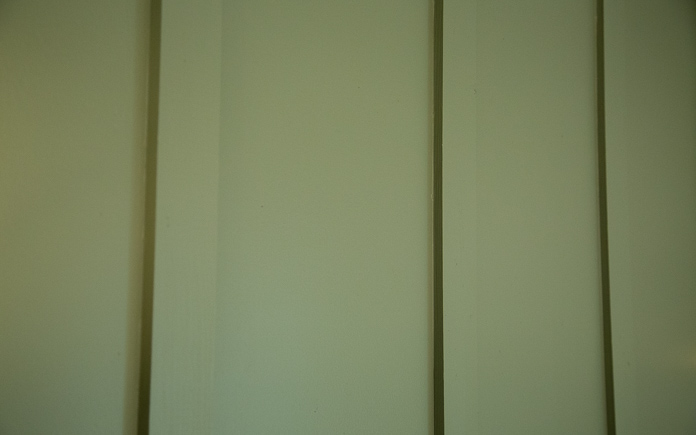
Create Board and Batten Wall
Corey and Grace really like a dark green color for the guest bedroom, so to keep the room from feeling dark and uninviting, they’re only going to use that color for an accent wall.
And to add some visual interest to the accent wall, we’re going to add some board and batten.
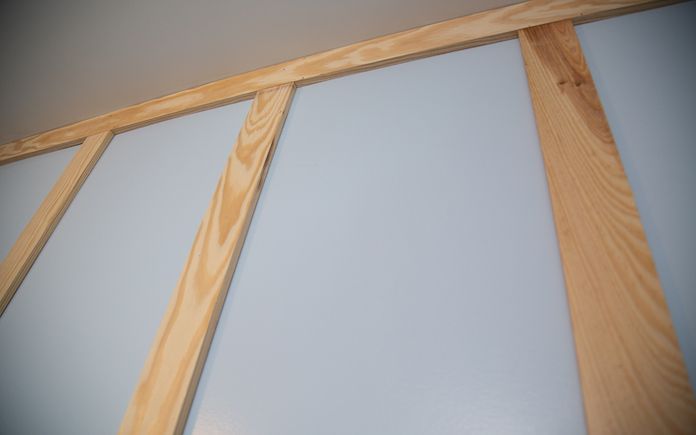
For the battens, we space out ½-inch by 2¾-inch boards about 16 inches apart on the wall, then attach them with finishing nails and construction adhesive.
Once all the battens are in place, we caulk the edges and apply two coats of paint to the whole wall.
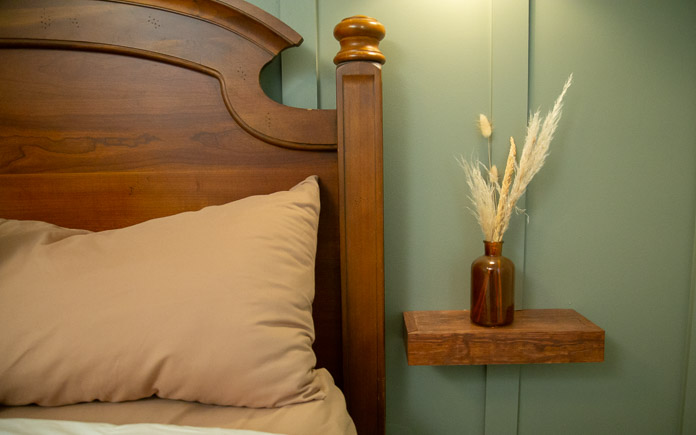
Build/Install Floating Shelves
Bulky nightstands can make this guest room feel cluttered, so instead, we’re attaching floating shelves to the sides of the bed.

To make the floating shelves, we build a box with a 1-by-6 board on top, a half-inch-by-6-inch board on the bottom, and 1-by-2 pieces wrapping the edges.
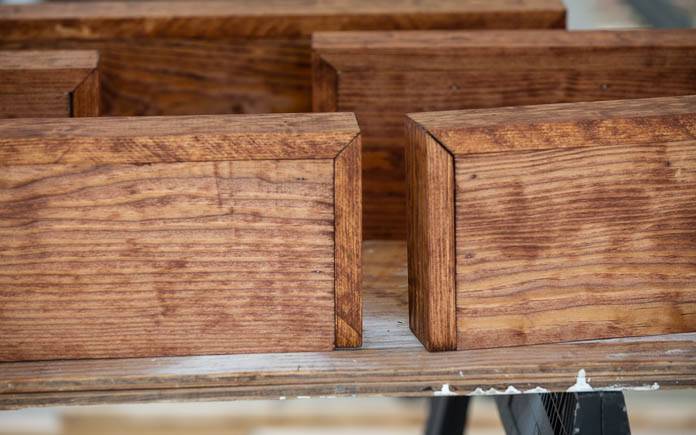
Once assembled, we sand the shelves and stain them to match the headboard.
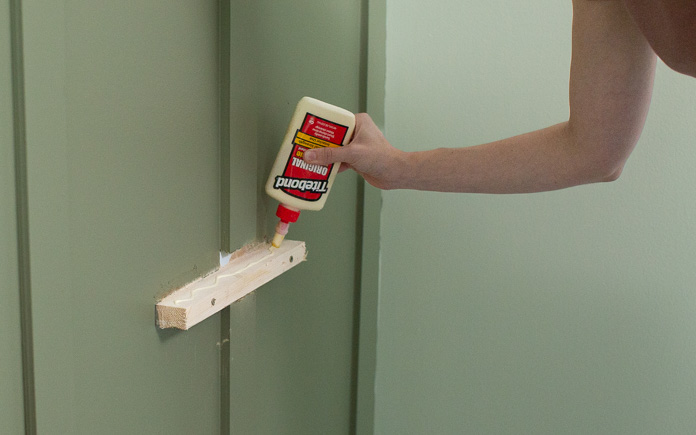
To hang the shelves, we first screw cleats into the wall, then slip the shelves on and secure them with finishing nails and wood glue.
Add Wall-Mounted Lights
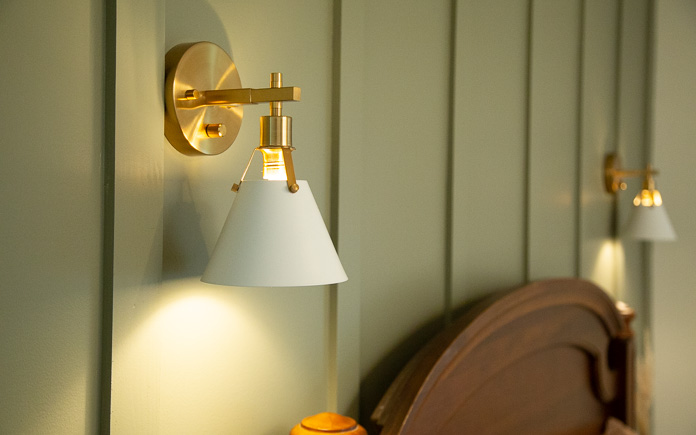
For additional lighting, we’re adding some wall-mounted sconces on either side of the bed.
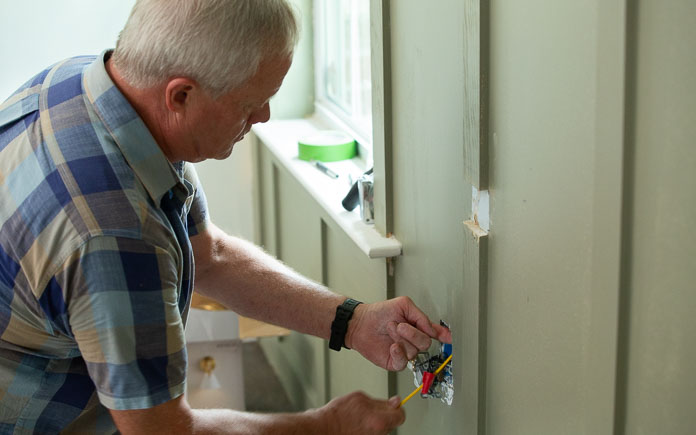
To do this, we first have to reroute the wiring from the electrical outlet to where the sconces will be hung on the wall. We cut a hole in the drywall where the sconces will be mounted, then fish the electrical wires up to the hole.
Once the wires are set, we follow the instructions to install them.
We also:
- Removed existing TV mount from wall
- Painted walls
- Painted trim

Post-Production Thoughts
Corey’s extra bedroom was just that — it lacked any real identity. The hardware and paint color lifted by the previous homeowners didn’t make the welcoming statement they wanted for their guests.
But now, the room has a clear purpose and that’s to make guests feel right at home. The board and batten accent wall draws you into the space and the custom trim around the windows tells you they were intentional about making this room nice for you.
The floating shelves and nightstand are functional for short-term guests without taking up as much space as larger pieces of furniture. And the warm wood tones complement the cool green accent wall, just as the gold wall sconces do.
And, we did it all for less than $500.
Other Tips From This Episode
Products Featured in This Episode
Board and Batten Wall
Floating Shelves
Wall sconce: Home Decorators Collection Granville Collection 1-light Gold & White Sconce
This page contains affiliate links. If you purchase a product from these links, we will earn a small commission at no additional cost to you.
More Inspiration



More Stories
Cold-Weather Ready Fashion Essentials – Becki Owens Blog
The Sunday 7: Thanksgiving Prep
6 Questions to Ask Yourself Before Converting Your Bathtub to a Shower